Easy final drive removal
Introduction
A lot of people remove the shock and get into all kinds of difficulty when removing the rear drive from the bike for spline lubrication or driveshaft inspection. Bag mounts have to be moved, shocks pried off the studs, and then the swingarm has to be held up. A bit of planning will make this much easier and eliminate some of the steps used by others. In short, follow these basic steps:
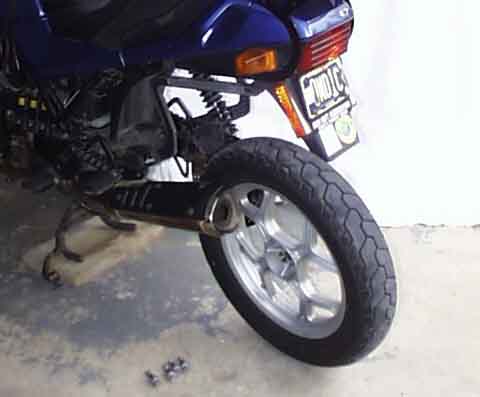
a) Put the bike on the centerstand on top of a 2" thick board. This way you can remove the wheel without removing the fender. Leave the bike in neutral so the brake disc can turn as you pull the wheel out. To prevent the bike from rocking forward off the centerstand while you're working, tie the bottom of the centerstand to the front wheel, or at least bind the front brake lever to the handlebar with a strap or something.
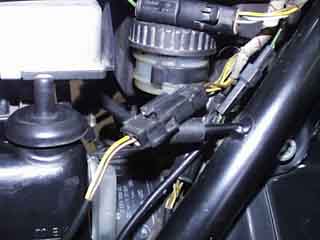
b) Don't remove the speedo sensor. If you do, you just create another place for fluid to leak out, and another place for dirt to get in. Instead, disconnect the speedo sensor at the wiring harness.
c) Don't remove the shock. Let it support the drive while you free it from the swingarm. Then, when you are ready, just unhook the drive from the shock and pull it away.
d) Leave a support underneath the swingarm before you remove the drive. This way, once you remove the drive, the swingarm cannot drop lower than its normal position. If the swingarm drops unsupported, you will almost certainly damage the rubber swingarm boot.
Removing the rear wheel
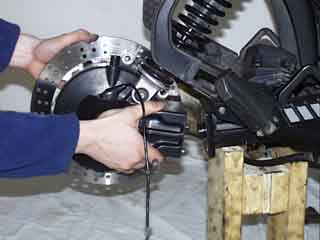
Removing the final drive
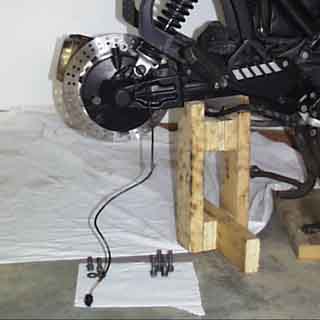
Place a support underneath the swingarm.
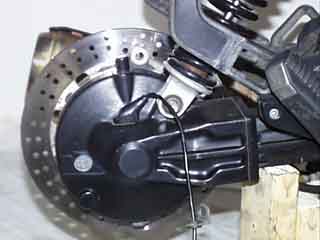
Remove the lower shock mounting nut and washer.
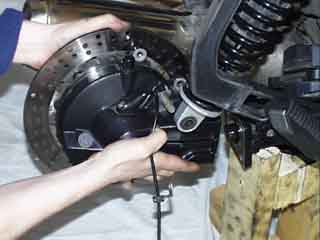
Remove the four bolts holding the final drive to the swingarm.
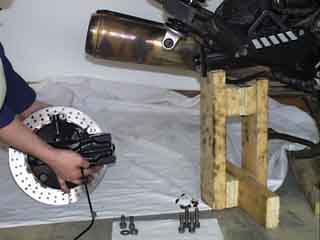
Reassembly is the reverse of disassembly. Hook the final drive shock mounting stud through the eye in the shock, and engage the drive spline into the end of the driveshaft. You may need to turn the rotor slightly to help the splines mesh. Position the drive so that the locating dowels engage the holes in the swingarm, and gently push so that it is fully mated to the swingarm. You may need to lightly tap it, but don't push hard or else you may push the bike off the centerstand! Once the drive is in position, you can let go because the shock will fully support it. Re-install the drive bolts, the caliper (remember the speedo cable bracket) and re-route and reconnect the cable.
P.S. People have taken to calling this the "Anton Method", just so you know it wasn't my idea!

